Welcome to Rib Heaven!
Hey there, rib lovers! If you’ve ever craved tender, juicy ribs but didn’t want to fire up the grill, then you’re in the right place! I totally get that not everyone has access to an outdoor grill, but that doesn’t mean we have to miss out on delicious ribs. Today, I’m excited to share my foolproof oven-baked ribs recipe that gives you all the flavor in the comfort of your kitchen. Trust me, you won’t believe how easy and tasty this is!
Nutritional Benefits of Oven-Baked Ribs
Now, you might think that ribs are all indulgence, but let’s talk about some benefits here! Pork ribs are a good source of protein, which is essential for building and repairing tissues in our bodies. Plus, they contain essential vitamins and minerals, like zinc and iron, which play a crucial role in keeping our immune system healthy. Just remember, it’s all about balance, so enjoy these flavorful ribs with plenty of sides like veggies or a fresh salad!
Fun Variations to Consider
- Spicy BBQ Lovers: Swap out the regular barbecue sauce for a spicy one to add a kick that’ll make your taste buds dance.
- Sweet & Smoky: For a different flavor profile, use a maple syrup-infused sauce and a touch of liquid smoke in your basting sauce.
- Paleo-Friendly: You can skip the brown sugar and use honey as a natural sweetener instead.
- Gluten-Free: Ensure that your barbecue sauce and mustard are gluten-free, and you’re all set!
Your Simple Step-By-Step Oven-Baked Ribs Recipe
Ingredients You’ll Need
- 2 racks of pork ribs (choose between baby back or spare ribs)
- Salt and black pepper (to taste)
- 1 tablespoon garlic powder
- 1 tablespoon onion powder
- 1 tablespoon smoked paprika
- 1 teaspoon cayenne pepper (optional for heat)
- 1 cup barbecue sauce (store-bought or homemade)
- 1/2 cup apple cider vinegar
- 1/4 cup brown sugar
- 2 tablespoons mustard (yellow or Dijon)
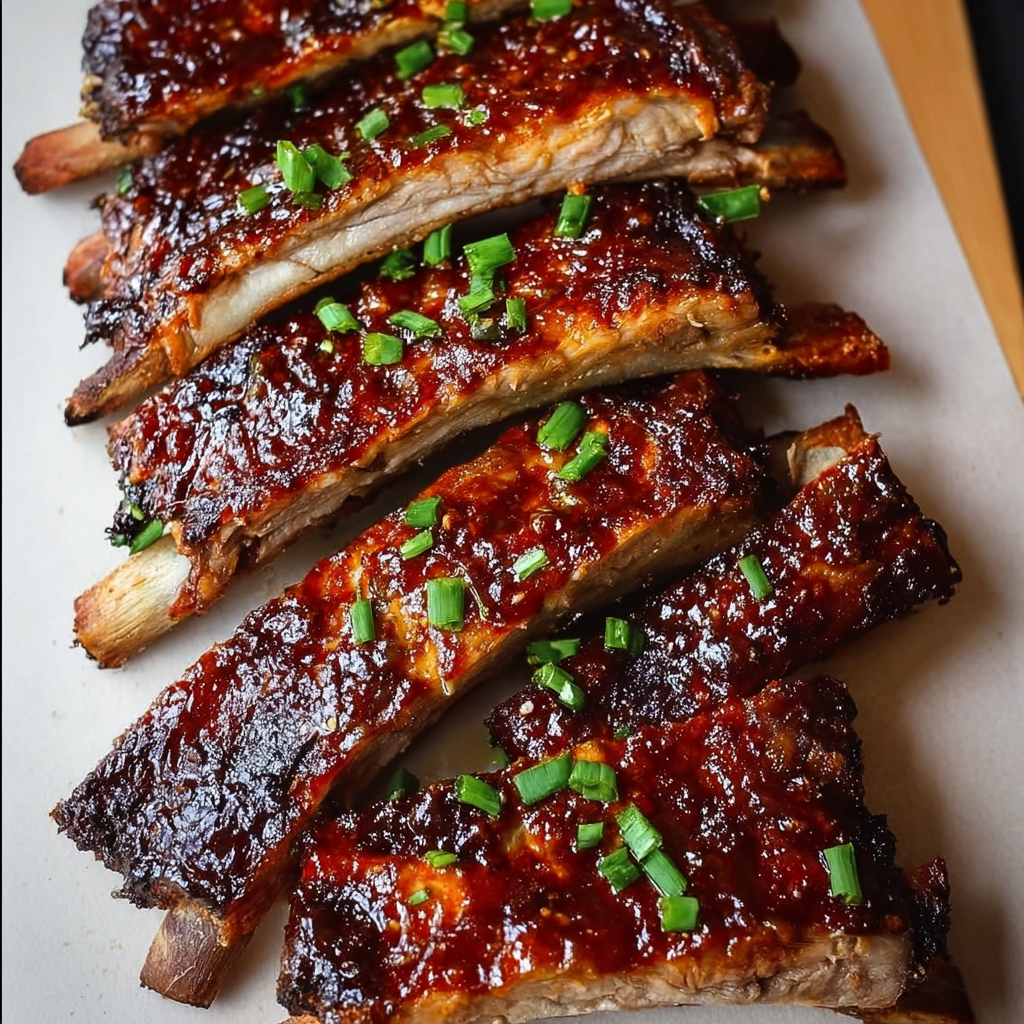
- Fresh parsley (to sprinkle on top for a pop of color)
Let’s Get Cooking!
- Preheat the Oven: Start by setting your oven to 300°F (150°C). This low and slow cooking method is key to getting those tender ribs.
- Prepare the Ribs: Remove the silver skin from the back of the ribs. This will help your seasoning penetrate and make the meat oh-so-tender!
- Mix it Up: In a small bowl, combine salt, black pepper, garlic powder, onion powder, smoked paprika, and cayenne pepper (if you’re feeling adventurous!). This flavorful mix will be your dry rub.
- Season Well: Generously sprinkle the spice mix all over the ribs, ensuring full coverage on both sides. Let them sit at room temperature for about 30 minutes to absorb all those delicious flavors.
- Wrap it Up: Place the ribs on a baking sheet lined with aluminum foil. Cover them tightly with another piece of foil to create a little steam trap. This is critical for ensuring juicy ribs!
- Bake Away: Pop your ribs into the oven and let them bake for 2.5 to 3 hours. You’ll know they’re ready when the meat is tender and pulls away from the bone with ease.
- Make the Basting Sauce: About 15 minutes before your ribs are done, mix the barbecue sauce, apple cider vinegar, brown sugar, and mustard in a saucepan. Heat it on medium-low until it’s warm and slightly thickened.
- Caramelize Them: Once the ribs are cooked, take them out and discard the top layer of foil. Increase the oven temperature to 400°F (200°C). Brush a generous amount of your basting sauce over the top.
- Finish in Style: Return the ribs to the oven for an additional 15-20 minutes. This will caramelize the sauce perfectly, making them even more irresistible!
- Let Them Rest: After removing them from the oven, let the ribs sit for about 10 minutes. Patience is key here!
- Slice & Serve: Cut the ribs into individual portions, garnish with fresh chopped parsley if you like, and serve warm with your extra barbecue sauce on the side. You deserve it!
Practical & Valuable Tips
- Storage: If you have leftovers (though I doubt you will!), wrap them tightly and store them in the fridge for up to 3 days.
- Reheating: Gently reheat the ribs in the oven at 250°F (120°C) to warm through without drying them out.
- Don’t Skimp on Saucing: Feel free to brush on a thicker layer of sauce for extra flavor as they caramelize!
- Double the Recipe: If you’re feeding a crowd, make an extra rack or two. These ribs will fly off the table!
- Experiment: Try different spices in your dry rub or add a bit more heat with additional cayenne if you love spicy food!
Equipment You’ll Need
Alright, before you start, gather these essentials:
- A baking sheet lined with aluminum foil (it makes clean-up a breeze!)
- A small mixing bowl for your rub
- A saucepan for making the basting sauce
- A basting brush for the sauce application
- Aluminum foil to cover the ribs while they bake
Frequently Asked Questions
- Can I use beef ribs instead of pork? Absolutely! Just keep in mind that beef ribs may need a little longer to cook.
- How do I know when the ribs are done? Look for the meat pulling away from the bone and a nice tenderness when you poke them.
- Can I make these ribs in advance? Yes! You can prepare them a day ahead, just refrigerate them after cooking and reheat when ready to serve.
- What’s the best way to serve these ribs? They’re fantastic as a stand-alone dish or with sides like coleslaw, corn on the cob, or a fresh salad!
- Can I bake these ribs at a higher temperature? You can, but I recommend low and slow for the best tenderness. If you must speed things up, be careful not to dry them out!
Join the Rib Party!
So, what do you think? Are you ready to dive into making these fabulous oven-baked ribs? I can’t wait to hear from you! Feel free to share your experiences and any twist you make to the recipe on Pinterest. Let’s make this a rib party together!