Welcome to the World of Whoopie Pies!
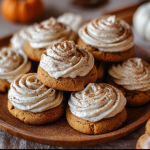
Hey there, fellow food lover! If you’re looking for a cozy fall treat that carries the delightful flavors of spiced apples, you’ve come to the right place. Today, I’m thrilled to share my absolute favorite recipe for Apple Cider Whoopie Pies. Trust me, they are so soft, sweet, and spiced just right—perfect for those chilly fall days when you want something warm and comforting.
Why You’ll Love These Whoopie Pies
Whoopie pies are like little bites of happiness sandwiched between two soft cookies. Not only are they delicious, but they also bring out the best of fall flavors, thanks to the apple cider and warm spices. Plus, they’re a great way to involve your family—let the kids help decorate these cuties with caramel sauce!
Nutritional Benefits
These little pies pack a surprisingly wholesome punch. With the addition of apple cider, you’re getting a bit of vitamin C and some hydration in every bite. Plus, you can always sneak in some healthy bits if you choose. Consider adding oats or swapping part of the flour for whole wheat flour for a little extra fiber. Baking at home also lets you control the sugar, enabling you to make them just the way you like!
Fun Variations to Try
- Nutty Twist: Add some chopped walnuts or pecans into the batter for crunch.
- Spiced Cream Cheese Filling: Swap the whipped cream for a lightly sweetened cream cheese filling if you want a tangy twist.
- Cranberry Kick: Mix in some dried cranberries or raisins to enhance the fall flavor.
Let’s Get to Baking: Your Whoopie Pie Recipe!
Ingredients
- 2 cups all-purpose flour
- 1 teaspoon baking powder
- 1 teaspoon baking soda
- 1 teaspoon ground cinnamon
- 1 teaspoon ground nutmeg
- ½ teaspoon salt
- 1 cup brown sugar, packed
- ½ cup granulated sugar
- ½ cup unsalted butter, softened
- 2 large eggs
- 1 cup apple cider
- 1 teaspoon vanilla extract
- 1 cup heavy cream
- ½ cup powdered sugar
- ½ cup caramel sauce (for filling and drizzling)
- Cinnamon sugar (for dusting)
Step-by-Step Instructions
- Preheat your oven to 350°F (175°C) and don’t forget to line two baking sheets with parchment paper.
- In a medium bowl, whisk together the flour, baking powder, baking soda, cinnamon, nutmeg, and salt. This helps combine the dry ingredients nicely!
- In a large mixing bowl, cream together the brown sugar, granulated sugar, and softened butter until you see a light and fluffy mixture. This part is fun—just fluff it up!
- Add in the eggs one after the other, mixing well after each addition. You want to keep that fluffiness as much as possible.
- Gently stir in the apple cider and vanilla extract until everything is just combined. The smell will start to be delightful!
- Now it’s time for the dry ingredients! Gradually mix the dry mix into the wet ingredients, being careful not to overmix. We want those cookies soft and tender!
- Using a cookie scoop, drop rounded tablespoons of batter onto the prepared baking sheets, giving them about 2 inches of space.
- Bake for 10-12 minutes, or until the edges are set, and the tops spring back when you touch them lightly. They will be golden and delicious!
- Let the cookies cool on the sheets for a few minutes before moving them to a wire rack to cool completely.
- While the cookies cool, whip the heavy cream until soft peaks start to form. Then, gradually add the powdered sugar until you see stiff peaks. Yum!
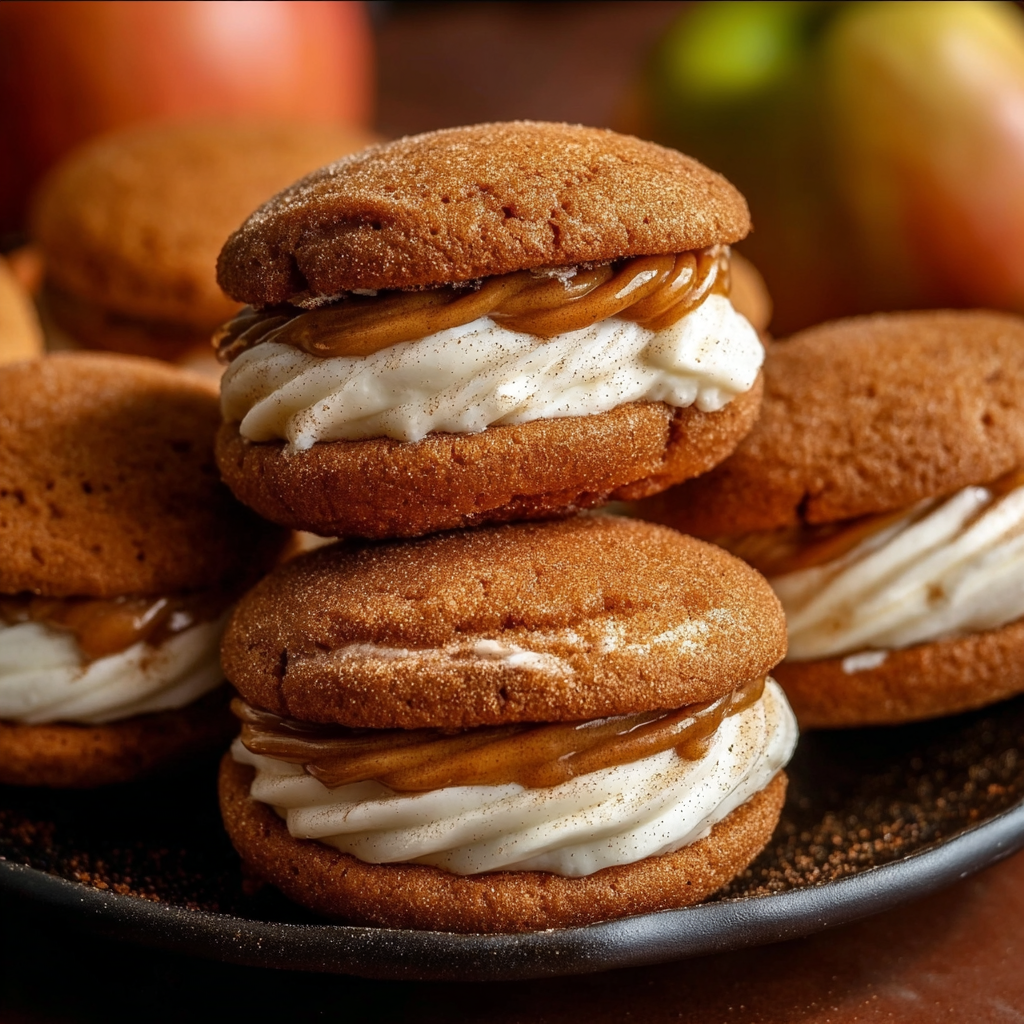
- Once the cookies are cooled, place a dollop of whipped cream on the flat side of one cookie. Drizzle a small amount of caramel sauce over the whipped cream and then top with another cookie, flat side down. Voilà, you’ve made your whoopie pie!
- Dust the tops with cinnamon sugar and drizzle more caramel sauce on top as a final touch. Every bite will feel like a warm hug!
- Serve immediately or place them in the fridge until you’re ready to share these delicious treats!
Practical & Valuable Tips
- For a super soft and moist cookie, be careful not to overbake them. They should look a little underbaked when you take them out, as they’ll continue to set while cooling!
- Store the whoopie pies in an airtight container in the fridge for up to 3 days. They might just get better as the flavors meld!
- If you’re preparing for a gathering, you can make the cookies ahead of time. Just add the filling right before serving to keep everything fresh!
Equipment You’ll Need
Here are the essentials you’ll want to gather before starting your baking adventure:
- A couple of baking sheets lined with parchment paper
- A mixing bowl (or two) for mixing your ingredients
- A whisk for creaming and whipping
- A cookie scoop for dividing the batter evenly
- A cooling rack to let your cookies breathe
Frequently Asked Questions
- Can I use another type of liquid instead of apple cider? Yes! You can swap it with apple juice, but it may not be as rich in flavor.
- How do I know when my cookies are done? They should be set around the edges but slightly soft in the center. A gentle touch should leave a slight imprint but not sink in.
- Can I make them ahead of time? Absolutely! You can bake the cookies in advance and fill them when you’re ready to serve.
- What’s the best way to store them? Keep them in an airtight container in the fridge for up to 3 days or freeze them for longer storage.
- Can I use gluten-free flour? You can! Just make sure to use a 1:1 gluten-free flour blend for the best results.
Time to Get Baking!
I can’t wait for you to try out these Apple Cider Whoopie Pies! They are sure to become a fall favorite in your home. If you make them, please share your creations on Pinterest—I’d love to see how they turned out for you! Happy baking, my friend!