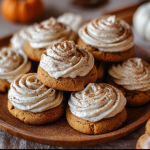
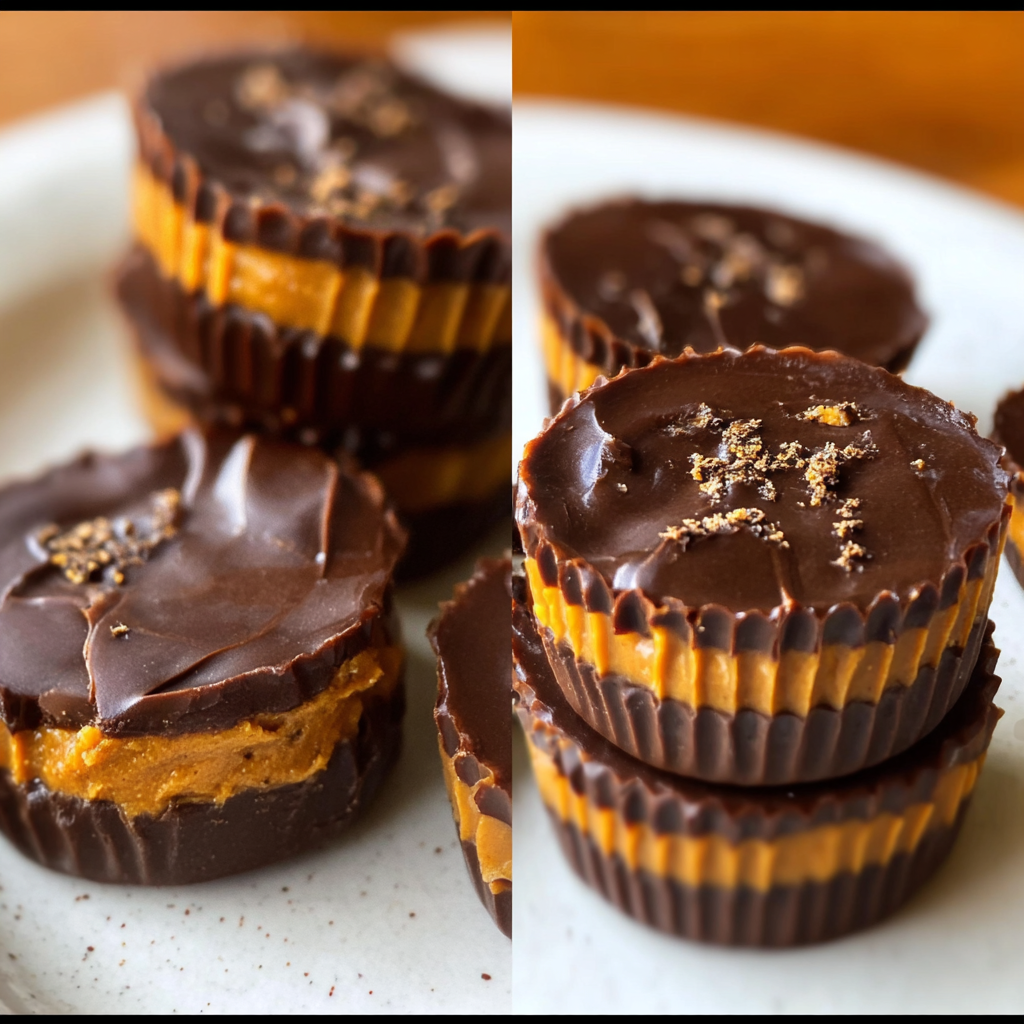
Hey there, pumpkin lovers! Are you ready to whip up a scrumptious fall treat that’s not just delicious but also dairy-free? I mean, who can resist the combination of rich chocolate and cozy pumpkin flavors? These Dairy Free Chocolate Pumpkin Butter Cups are a delightful way to capture all those autumn vibes in one sweet bite. Plus, they’re super easy to make! So grab your mixing bowl, and let’s get started on this yummy adventure together!
Nutritional Benefits
Speaking of goodness, let’s chat about the fantastic nutritional aspects of these pumpkin butter cups. First off, pumpkin is a powerhouse of nutrients! It’s rich in vitamins like vitamin A, which is fantastic for your eyesight, and it packs a good amount of fiber, helping your digestion. Plus, using almond butter gives you a healthy dose of protein, which is essential for keeping you full and satisfied. And let’s not forget the heart-healthy fats from the chocolate and almond butter! It’s a win-win for your taste buds and your body.
Delicious Variations to Try
- Nut Butter Swap: If almond butter doesn’t tickle your fancy, feel free to use any nut or seed butter, like sunflower seed butter for a nut-free option or cashew butter for a richer flavor.
- Spicy Heat: Want to kick it up a notch? Add a pinch of cayenne pepper to the pumpkin filling for a surprising zesty twist!
- Substitute Sweeteners: If you’re looking to cut down on sugar, try using a sugar alternative like stevia or erythritol in place of maple syrup.
Delicious Dairy Free Chocolate Pumpkin Butter Cups Recipe
Ingredients
- 1 cup dairy-free chocolate chips (preferably dark chocolate)
- 1 cup canned pumpkin puree
- 1/2 cup creamy almond butter (or your preferred nut/seed butter)
- 1/4 cup maple syrup (or agave syrup)
- 1 teaspoon vanilla extract
- 1 teaspoon pumpkin pie spice (or a mix of cinnamon, nutmeg, and ginger)
- Pinch of salt
- Greased muffin tin or silicone molds
- Optional: Cacao nibs or coarse sea salt for topping
Instructions
- Prepare the Molds: If you’re using a muffin tin, line it with cupcake liners or grease it with cooking spray. For silicone molds, a quick rinse will do—just make sure they’re clean and ready!
- Melt the Chocolate: Grab a microwave-safe bowl and toss in the dairy-free chocolate chips. Heat them in the microwave in 30-second bursts, stirring in between until they’re smooth and melted (you can also melt them in a double boiler on the stove). It’ll be so worth the wait!
- Create the Bottom Layer: Scoop around 1 tablespoon of melted chocolate into each mold, spreading it up the sides for a nice chocolatey hug. Pop the molds in the freezer for about 10-15 minutes to set while you let the chocolate work its magic.
- Prepare the Pumpkin Filling: In a mixing bowl, combine the canned pumpkin puree, almond butter, maple syrup, vanilla extract, pumpkin pie spice, and a pinch of salt. Give it a good mix until everything’s blended smoothly. It should smell heavenly!
- Add the Pumpkin Layer: After the chocolate layer is set, take the molds out of the freezer and spoon 1-2 tablespoons of the pumpkin filling into each mold. Smooth it out so it looks all beautiful!
- Create the Top Layer: Now, pour the remaining melted chocolate on top of the pumpkin filling, carefully covering it completely. Gently tap the molds on your counter to get rid of any air bubbles—it helps make it all pretty!
- Add Toppings (Optional): If you’re feeling a little extra, sprinkle some cacao nibs or coarse sea salt on top of the chocolate for an added crunch!
- Set in the Freezer: Place the molds back into the freezer and chill for at least 30 minutes or until they’re completely set. Patience pays off here!
- Serve: Once set, carefully remove your chocolate pumpkin butter cups from the molds. Enjoy them right away or store them in an airtight container in the fridge for up to a week. But let’s be real, they might not last that long!
Practical & Valuable Tips
- If you find your chocolate is too thick to spread evenly, you can add a tiny bit of coconut oil while melting to thin it out.
- Want to make these in advance? Absolutely! They freeze wonderfully, so feel free to stock up for those busy days.
- For cleaner edges when cutting from a pan, let them sit at room temperature for a few minutes before serving.
Equipment Needed
Here’s what you’ll need to make these delightful treats:
- A muffin tin or silicone molds (silicone is my fave for easy removal!)
- A microwave-safe bowl or a double boiler to melt the chocolate
- A mixing bowl for your pumpkin filling
- A trusty spoon for mixing and layering
- A spatula for scraping out every last bit of that delicious filling
Frequently Asked Questions
- Can I use regular chocolate chips? If you’re okay with dairy, absolutely! Just check labels if you need them to be dairy-free.
- How do I store these treats? Keep them in the fridge in an airtight container for up to a week, or freeze them for longer storage.
- Can I use fresh pumpkin instead of canned? Sure! Just make sure it’s cooked and pureed until smooth.
- What’s the best way to remove them from the mold? For silicone molds, gently pull back the edges—this should help them pop out easily. For metal molds, slightly squeeze the sides if they’re not coming out.
- Can I make these without any nut butter? You can try using sunflower butter or tahini if you’re looking for a nut-free alternative!
Did you try making these Dairy Free Chocolate Pumpkin Butter Cups? I’d love to hear how they turned out for you! Snap a pic and share it on Pinterest or tag me—I can’t wait to see your delicious creations! Let’s spread the pumpkin love this fall!