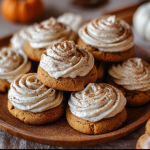
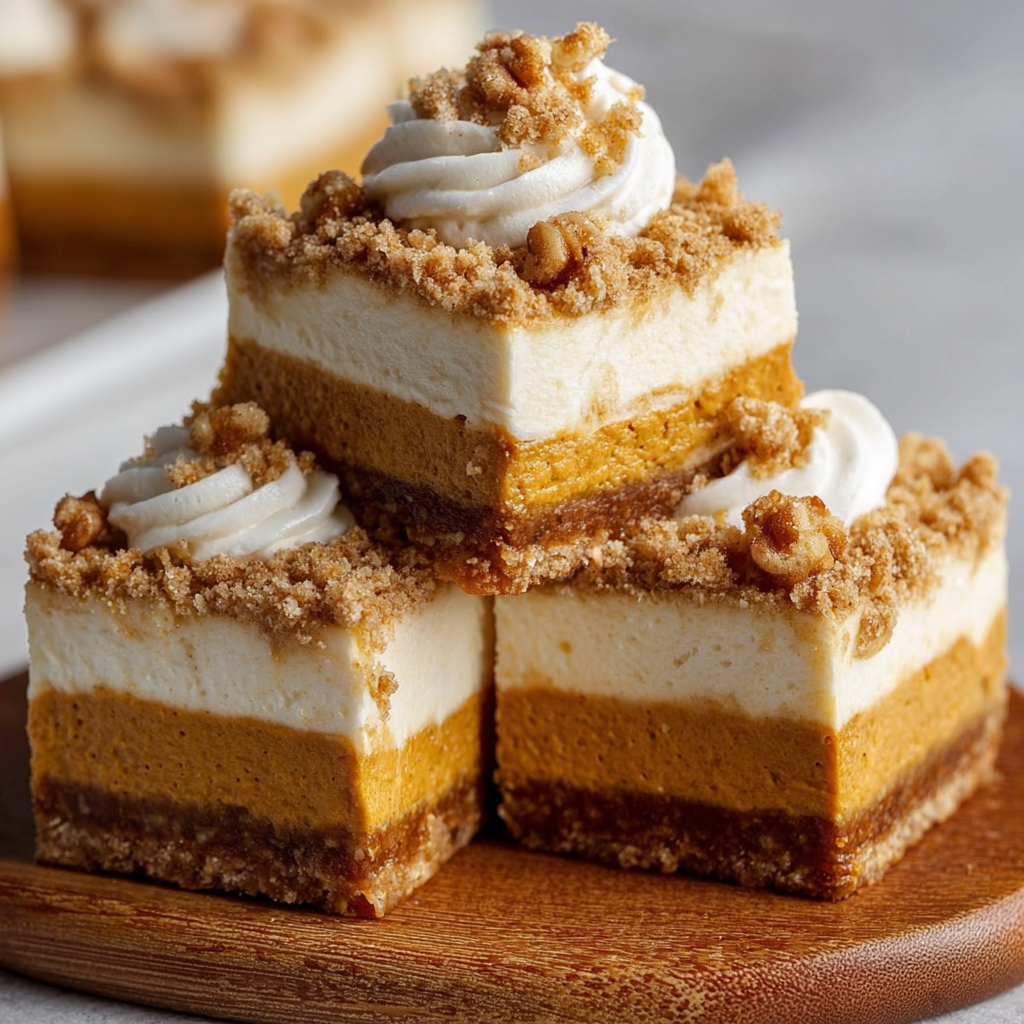
Hey there, pumpkin spice lovers! If you’re looking for a dessert that screams fall without the need for baking, you’ve come to the right place! I absolutely adore these no-bake pumpkin cheesecake bars. They’re creamy, delicious, and so easy to whip up. Plus, they have that perfect balance of pumpkin flavor and creaminess that makes them a show-stopper at gatherings. Grab your apron, and let’s dive into this delightful recipe!
Nutritional Benefits of Pumpkin Cheesecake Bars
You might not know this, but pumpkin is packed with nutrients! It’s rich in vitamin A, which is great for your eyes, and contains lots of antioxidants that help keep your skin healthy. Plus, the cream cheese adds a bit of protein, and let’s not forget about the wholesome graham cracker crust which has some fiber. Although these bars are a sweet treat, they do offer some benefits—just think of them as your deliciously creamy health booster!
Fun Variations to Make
- Gluten-Free Option: Use gluten-free graham crackers or almond flour for the crust to make these bars suitable for those with gluten sensitivities.
- Spicy Additions: For a kick, add a pinch of cayenne pepper or nutmeg to the pumpkin layer!
- Different Flavors: Swap out the pumpkin for a different fruit puree like sweet potato or even a berry for a fun twist.
- Vegan Version: Use a dairy-free cream cheese alternative and coconut cream to make these suitable for a vegan diet.
No-Bake Pumpkin Cheesecake Bars Recipe
Ingredients List
- For the Crust:
- 1 ½ cups graham cracker crumbs
- ½ cup unsalted butter, melted
- ¼ cup brown sugar
- 1 teaspoon cinnamon
- For the Pumpkin Layer:
- 1 cup canned pumpkin puree
- ½ cup granulated sugar
- 1 teaspoon pumpkin pie spice
- 8 oz cream cheese, softened
- 1 teaspoon vanilla extract
- 1 cup whipped cream (for folding)
- For the Cheesecake Layer:
- 8 oz cream cheese, softened
- ½ cup powdered sugar
- 1 teaspoon vanilla extract
- 1 cup whipped cream (for folding)
- For the Topping:
- ½ cup crumbled graham crackers (or cookie crumbs)
- Whipped cream for decoration
- Chopped nuts (optional, like pecans or walnuts)
Instructions
- Prepare the Crust: In a mixing bowl, combine graham cracker crumbs, melted butter, brown sugar, and cinnamon. Mix well until the crumbs are evenly moistened.
- Press the Crust: Press the crumb mixture firmly into the bottom of a 9×9 inch baking dish to form a solid crust layer. Chill in the refrigerator while preparing the fillings.
- Make the Pumpkin Layer: In a large bowl, beat the softened cream cheese until smooth. Add the pumpkin puree, granulated sugar, pumpkin pie spice, and vanilla extract. Mix until well combined and smooth.
- Fold in Whipped Cream: Gently fold in 1 cup of whipped cream into the pumpkin mixture until fully incorporated.
- Spread the Pumpkin Layer: Pour the pumpkin layer over the chilled crust, spreading it evenly. Smooth the top with a spatula. Return to the refrigerator for about 20-30 minutes to firm up.
- Prepare the Cheesecake Layer: In another bowl, beat the softened cream cheese until creamy. Gradually add the powdered sugar and vanilla extract. Mix until smooth and well combined.
- Fold in Whipped Cream: Gently fold in 1 cup of whipped cream into the cheesecake mixture until smooth and fluffy.
- Spread the Cheesecake Layer: Carefully spread the cheesecake layer over the pumpkin layer, smoothing it evenly on top. Chill in the refrigerator for at least 4 hours, or preferably overnight, to set completely.
- Prepare the Topping: Just before serving, sprinkle the top with crumbled graham crackers and any optional chopped nuts for added crunch.
- Decorate and Serve: Finish with dollops of whipped cream on top and cut into squares. Serve chilled and enjoy your delightful no-bake pumpkin cheesecake bars!
Practical & Valuable Tips
- To make slicing cleaner, use a hot knife (dip it in hot water and wipe it dry) to cut through the cold bars.
- Store any leftovers in an airtight container in the refrigerator for up to 5 days. I usually enjoy it within the first couple of days when it’s super fresh!
- If not serving immediately, keep the whipped cream topping separate and add it just before serving to keep it looking pretty.
Equipment Needed
You’ll want to have these handy while whipping up your cheesecake bars:
- A mixing bowl for combining the crust ingredients
- A 9×9 inch baking dish
- A hand mixer (or stand mixer) for beating the cream cheese
- A rubber spatula for folding and smoothing
- A whisk for mixing the ingredients
- Plastic wrap or foil for covering the baking dish while chilling
Frequently Asked Questions
- Can I use fresh pumpkin instead of canned? Yes, just make sure to cook and puree it well for a smooth texture!
- How long do these bars need to chill before serving? Ideally, chill them overnight, or at least 4 hours to ensure they set correctly.
- Can I use a different kind of crust? Definitely! If you prefer, a cookie crust (like Oreos) or a nut crust would work wonderfully too.
- What if I don’t have whipped cream? You can use whipped topping or make your own by whipping heavy cream with a bit of sugar until soft peaks form.
- How do I store leftover bars? Keep them in the refrigerator in an airtight container for up to five days. You will want to enjoy them while they’re fresh!
I’d love to hear how your no-bake pumpkin cheesecake bars turned out! Did you try any fun variations? Share your delicious experiences with me by tagging me on Pinterest! Happy baking!