Welcome to My Kitchen Adventure!
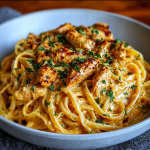
Hey there, friend! Today, I’m really excited to share a recipe that’s bound to make your taste buds dance: Crispy Greek Chicken Tenders! I remember the first time I made these, my family couldn’t get enough. They’re juicy, herby, and crisped to perfection—such a win for lunch or dinner! Plus, they’re super easy to whip up, and you can even involve the kids in the fun of breading the chicken. Let’s dive in!
Nutritional Benefits of Chicken Tenders
Chicken tenders are a fantastic source of protein, which is essential for building and repairing tissues in your body. And when we add those lovely herbs like oregano and thyme, you not only get great flavor but also a boost in antioxidants! Plus, if you swap out breadcrumbs for whole grain options or even crushed nuts, you can amp up the fiber and nutrient content. So, you can feel good about indulging in these tasty bites!
Adaptable Variations for Your Tenders
- Herb Swap: Replace the oregano and thyme with your favorite herbs like rosemary or basil for a completely different flavor profile.
- Gluten-Free Option: Use gluten-free breadcrumbs or crushed cornflakes instead of traditional breadcrumbs to make this dish friendly for gluten-sensitive friends.
- Extra Crunch: Mix in some crushed corn chips with your breadcrumbs for an extra crunchy texture!
- Spicy Kick: Add a dash of cayenne pepper or chili powder to your flour mixture if you like a little heat.
- Cheesy Goodness: If you love cheese, consider mixing in different cheese types with your breadcrumbs or topping the finished tenders with melted cheese.
Your Easy, Crispy Greek Chicken Tenders Recipe
Ingredients
- 1 pound chicken tenders
- 1 cup all-purpose flour
- 2 large eggs
- 1 cup breadcrumbs (preferably Panko for extra crunch)
- 1 teaspoon dried oregano
- 1 teaspoon dried thyme
- 1 teaspoon garlic powder
- 1 teaspoon onion powder
- Salt and pepper to taste
- 1/2 cup grated Parmesan cheese (optional for added flavor)
- Fresh parsley, chopped (for garnish)
- Olive oil (for frying)
Step-by-Step Instructions
- First, let’s prep the chicken! Pat the chicken tenders dry with a paper towel—this helps the coating stick better.
- In a shallow bowl, combine the all-purpose flour with salt, pepper, garlic powder, and onion powder. Give it a good mix!
- In another bowl, beat those eggs until they’re smooth and well combined.
- Now, in a third bowl, mix together the breadcrumbs with dry oregano, dried thyme, and the Parmesan cheese if you’re using it. This will add such a great flavor!
- It’s time to set up your breading station! You’ll start with the flour, then dip them in the egg, and finally roll them in the breadcrumb mixture. Let’s get those tenders coated!
- Take each chicken tender and coat it in the flour mix first—make sure to shake off the excess. We don’t want clumps!
- Then, dip it in the egg wash. Let any extra egg drip off before moving to the breadcrumb mix.
- Finally, roll it in the breadcrumb mixture, pressing lightly to ensure every inch is covered.
- Heat a generous amount of olive oil in a skillet over medium heat. You want it hot enough that a breadcrumb sizzles when you drop it in.
- Carefully add the breaded chicken tenders into the skillet, frying in batches if necessary. Cook for about 3-4 minutes on each side until golden brown and cooked through (check that they’re at least 165°F or 74°C).
- Once they’re cooked, transfer the tenders to a plate lined with paper towels to absorb some excess oil.
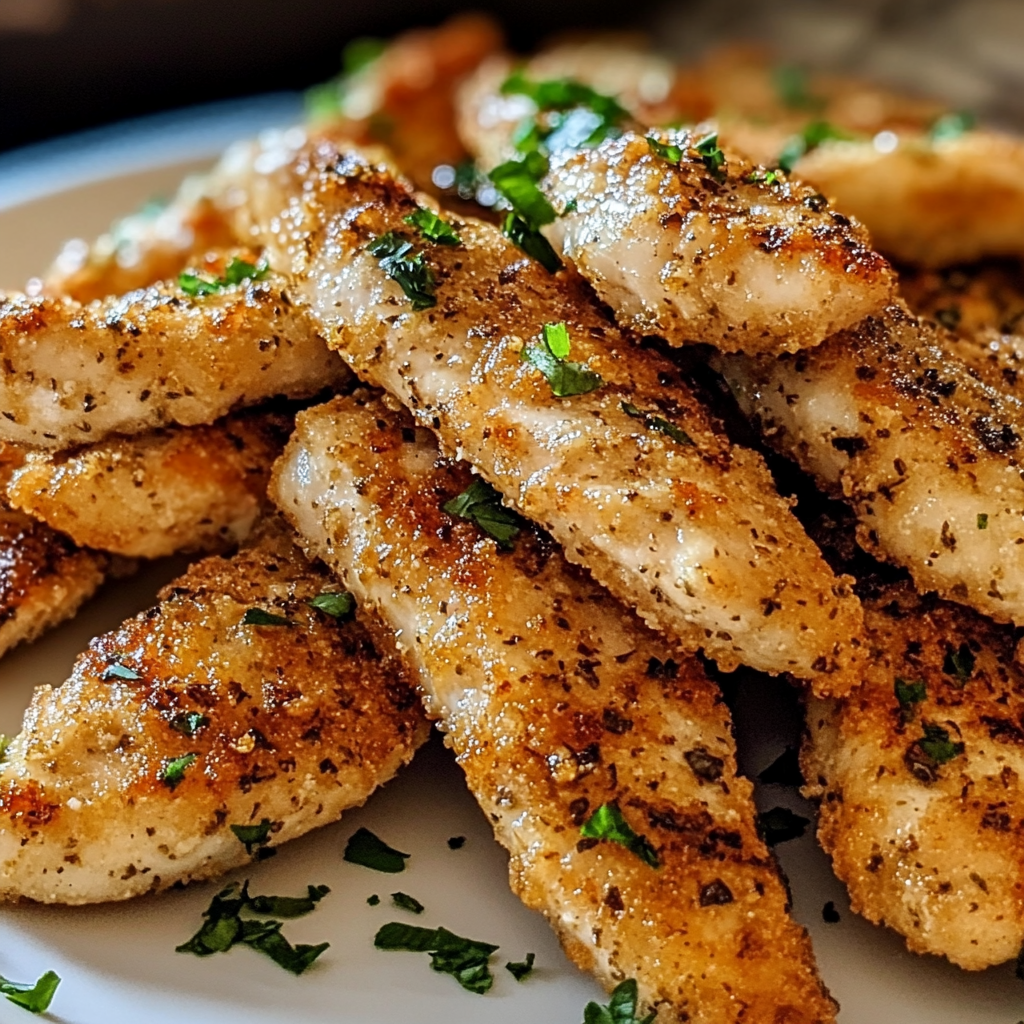
- Garnish with fresh parsley for that extra color and flavor. Now they’re ready to serve! Enjoy them warm!
Practical & Valuable Tips
- Worried about soggy tenders? Make sure your oil is hot enough before adding the chicken braving up that crispiness!
- If you’re feeling adventurous, try baking the tenders at 400°F (200°C) for about 20-25 minutes for a healthier version. Just keep an eye on the color—they should still be golden brown!
- These tenders can be stored in an airtight container in the fridge for up to 3 days, so they make for great leftovers!
- Have some leftovers? Toss them in a salad or wrap for a quick meal!
- Feel free to double the recipe if you’re feeding a crowd—they’re always a hit!
Equipment Needed
Here’s a handy list of the tools you’ll need:
- A couple of shallow bowls for breading
- A large skillet or frying pan
- Paper towels for draining excess oil
- A spatula for flipping the tenders
- A meat thermometer (if you want to check that perfect temperature!)
Frequently Asked Questions
- Can I use chicken breasts instead of tenders? Yes! Just slice the breasts into strips, keeping them about the same size as tenders for even cooking.
- Can I bake these instead of frying them? Absolutely! Just make sure to spray them lightly with oil and bake at 400°F (200°C) until golden brown.
- How do I make these tenders spicier? You can add some cayenne pepper to the flour mix or serve them with a spicy dipping sauce!
- What dipping sauce goes well with these? They are fantastic with tzatziki sauce, honey mustard, or even a tangy BBQ sauce!
- How do I store leftovers? Store them in an airtight container in the fridge for up to 3 days, and you can reheat them in the oven to make them crispy again!
Join the Fun!
So there you have it—Crispy Greek Chicken Tenders that’ll wow your taste buds and impress your friends! I can’t wait for you to try this recipe. If you do, I’d love to see how it turns out! Share your creations or connect with me on Pinterest for more tasty and easy recipes. Happy cooking!